Long day doing an "Intro to OAuth" O'Reilly workshop. The RØDECaster Video held up great for the whole 5 hours tho.

The elevator guy installed the dumbwaiter call buttons today! It's going to drive me crazy that it's crooked though so I am going to have to fix it.


The new MCP spec just dropped! 🎉
There's too many new things to get into everything, but there are two big changes I am most excited about 👀
📝 Client ID Metadata Documents (CIMD) - a simpler way to manage client registrations, clients describe themselves with a URL they control
🔐 Enterprise-Managed Authorization extension (aka Cross App Access) - eliminate the OAuth redirect and get tokens for an MCP server by requesting them from the enterprise IdP
It's been great working on this with folks like Den Delimarsky, Paul Carleton, David Soria Parra, Nick Cooper, Tyler Leonhardt, and more!
Read more about what these mean for you in my full post
👉 https://aaronparecki.com/2025/11/25/1/mcp-authorization-spec-update
Client Registration and Enterprise Management in the November 2025 MCP Authorization Spec
The New MCP Authorization Spec is Here! Today marks the one-year anniversary of the Model Context Protocol, and with it, the launch of the new 2025-11-25 specification.
Recurring Events for Meetable
In October, I launched an instance of Meetable for the MCP Community. They've been using it to post working group meetings as well as in-person community events. In just 2 months it already has 41 events listed!
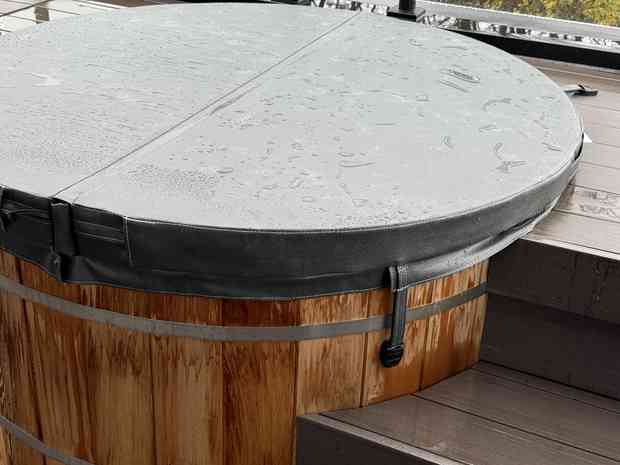
The hot tub cover finally arrived! I had to screw the little clamps in for the straps, and it felt more than a little terrifying to drill a hole in the wood with it full of water.
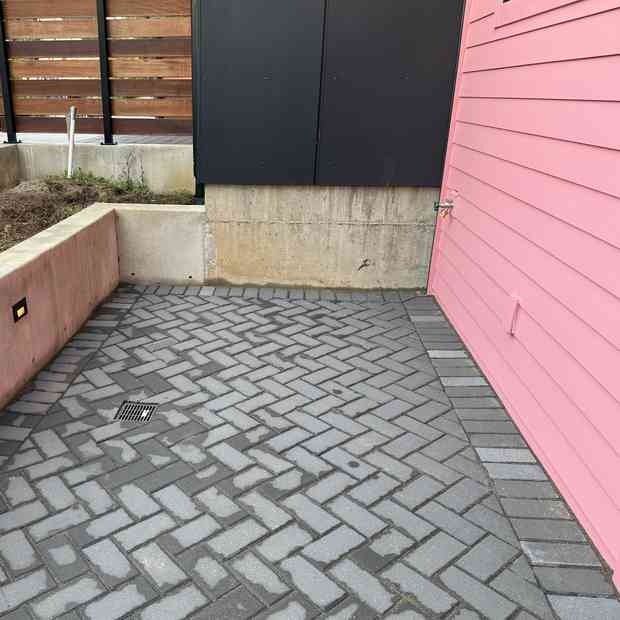
They did such a good job with the patio pavers!
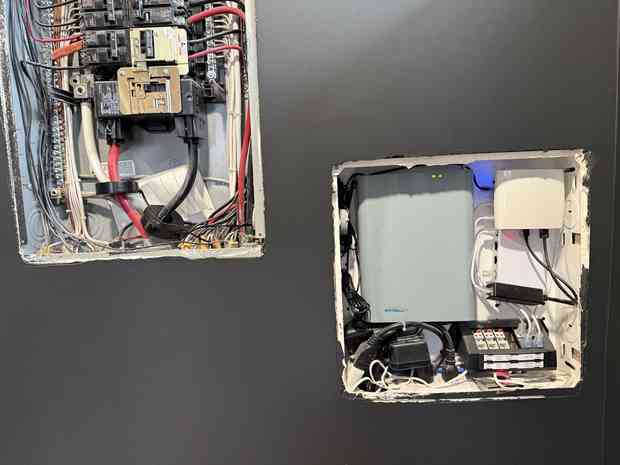
Today I hooked up the CT clamps to the main breaker panel, and now I have continuous monitoring of how much power the house is using! It's very cool. I'm going to have my electrician run CTs to each individual circuit next time he's here.
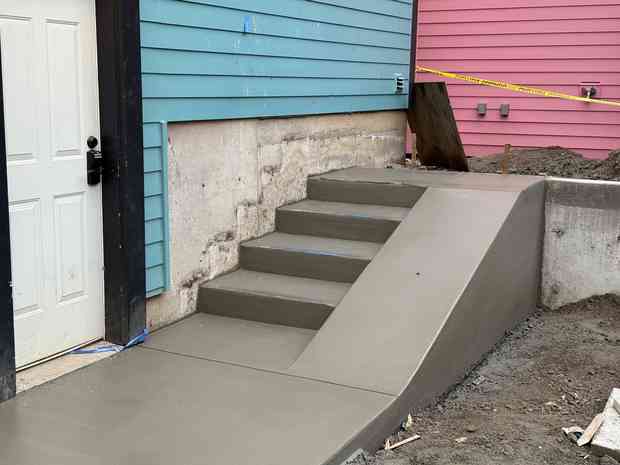
They finally poured the concrete for the back steps and foundation for the shed!
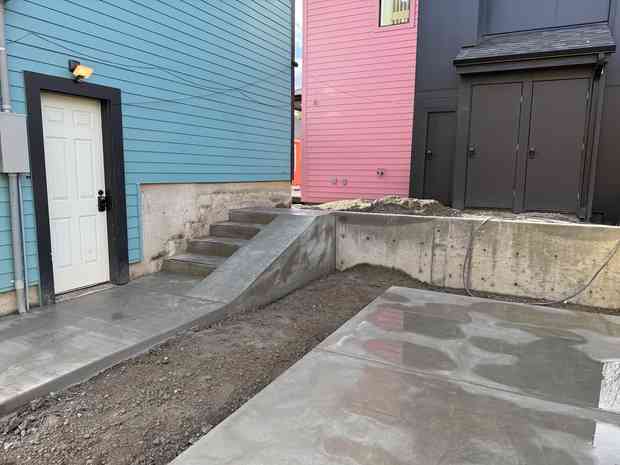
wet concrete